
Monday morning, freeway drizzle, a tiny star chip winks at eye level every time the wiper sweeps. I saw it last week and told myself I’d sort it “tomorrow.” Today it’s longer, with a faint crack edging toward the passenger side. That’s the moment you choose: fix it while it’s simple, or wait and buy a whole windscreen. The sensible move is to check the windscreen repairs cost so you know whether a quick resin repair will do or if replacement (plus camera recalibration) is on the cards. Ten minutes of price clarity beats weeks of squinting at a growing crack—and it keeps your safety systems honest when the rain sets in.
Why do the costs change from car to car
No two windscreens—or quotes—are the same. Prices shift for reasons that make sense once you see the moving parts.
Type and size of damage: A small “bullseye” chip costs less than a long crack. When cracks reach the edge of the glass, replacement is more likely.
Vehicle model and features: Rain sensors, cameras for lane-keep, HUD projectors—these add glass complexity and calibration steps.
Availability of glass: Common models are typically faster and cheaper to source; rare imports or prestige variants can take longer.
Labour and calibration: Modern cars often need ADAS camera recalibration after glass work. That’s specialised gear and time.
Mobile vs workshop: Convenience can affect price; more on that below.
Plain truth: early repairs cost less because you stop cracks before they travel. Temperature swings, potholes, even a firm door-slam can turn a $150 fix into a full-glass job.
Safety and compliance, without the headaches
Your windscreen isn’t just a rain shield—it’s structural, part of your car’s safety cell, and a clear-vision panel for cameras. That’s why “near enough is good enough” doesn’t cut it.
Vision and structure: The glass helps airbags deploy correctly and supports the roof in a rollover.
ADAS accuracy: Cameras need a stable, distortion-free view. Even a slight misalignment can confuse lane-keep or AEB.
Roadworthy checks: Obvious cracks in the driver’s field of view can fail inspections and attract attention at checkpoints.
Documentation matters: Quality resin, correct cure times, and proper calibration keep your safety systems honest.
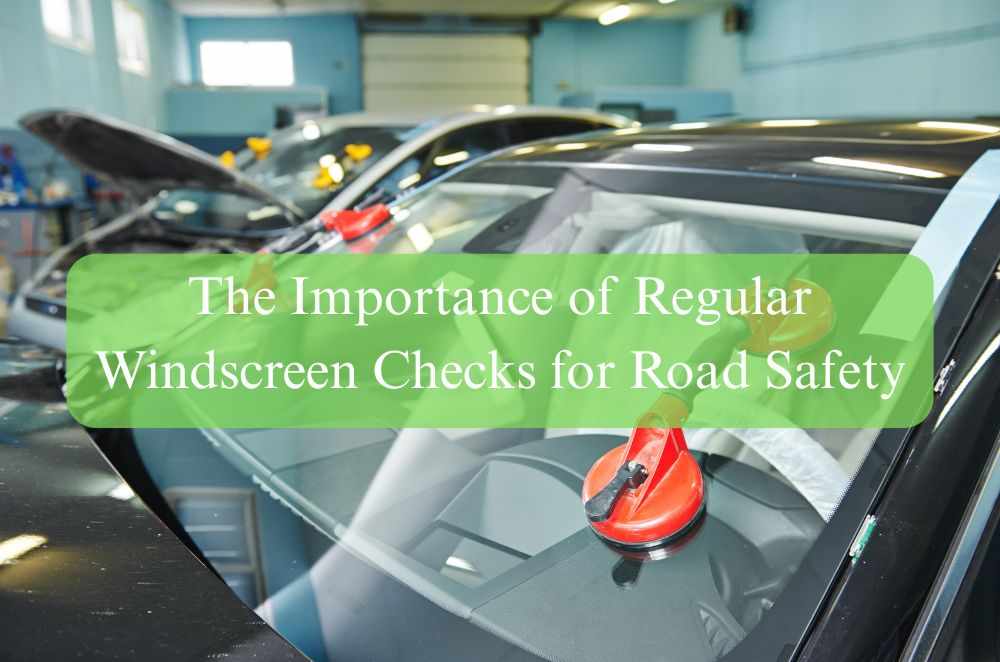
For an easy anchor on how vehicle features interact with safety, skim the vehicle safety standards in Australia. It’s a helpful context-setter when you’re deciding between “cheap and cheerful” and “done right.”
Repair or replace? a quick decision framework
You don’t need to guess; use a simple triage.
Usually repairable: Chips smaller than a $2 coin, not in the driver’s direct line of sight, and not feathering to the edge.
Borderline: Short cracks (<100 mm) away from edges; depends on glass type and standards.
Replace: Long cracks, damage at the edge, or anything obstructing the driver’s critical vision zone.
Want a deeper dive before you book? A practical explainer on chip vs crack repair walks through common scenarios in plain language.
What’s typically included in a transparent quote
Clarity up front prevents “surprise line items” later. A solid quote usually lists:
Assessment and recommendation: Repair if safe; replacement if required—spelled out, not implied.
Parts and materials: OEM or high-quality aftermarket glass, resin grade, mouldings, and clips.
Labour time: Removal/refit or repair time estimates so you can plan the day.
Calibration: ADAS camera recalibration steps, equipment used, and whether it’s in-house or subcontracted.
Warranty: Coverage for leaks, optical defects, or sensor issues post-fitment.
If anything’s missing—especially calibration details on camera-equipped cars—ask for it in writing.
Mobile service or workshop visit?
Both get the job done; the best choice depends on your day and your car’s tech.
Mobile repair benefits: Saves a trip, often faster to book, ideal for simple chips in accessible locations (home or work carpark).
Workshop advantages: Controlled lighting and space, quicker access to calibration rigs, and better shielding from dust/rain.
Hybrid approach: Mobile for the repair, workshop for calibration. Some providers do both in one slot.
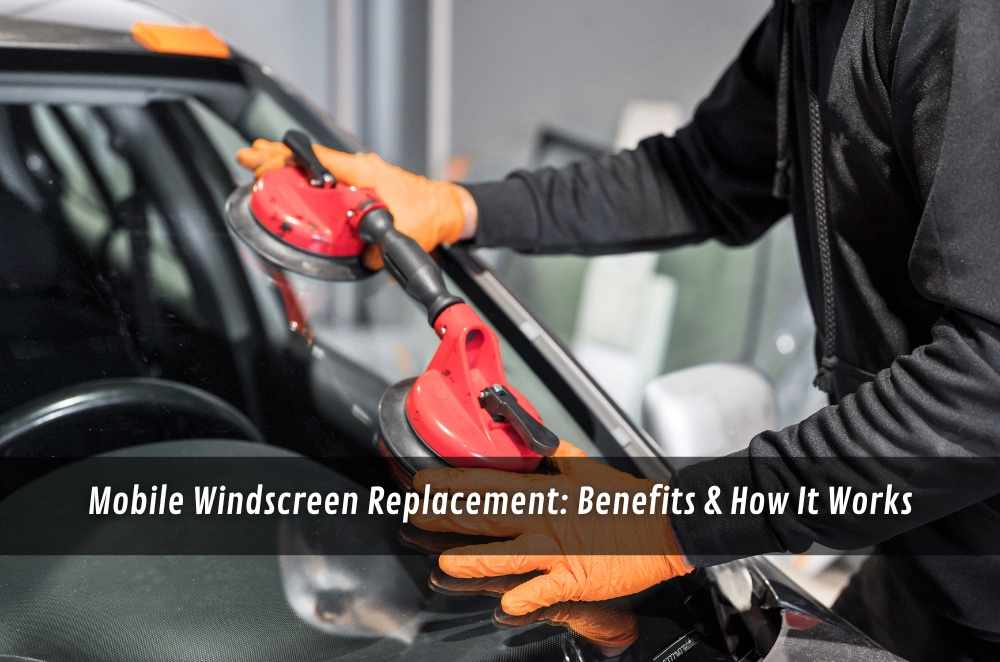
For a closer look at convenience and process, look for mobile windscreen replacement benefits —handy when you’re juggling school runs and meetings.
Realistic price ranges (what drivers usually see)
Every car and crack is different, but here’s a grounded, ballpark view to help you sanity-check quotes:
Chip repairs: Typically the least costly; a quick, structural restore that improves appearance and prevents spread.
Standard replacement: For common models without complex ADAS, a straightforward supply-and-fit.
Replacement with calibration: For ADAS-equipped vehicles, allow extra time and budget for camera recalibration and post-fit testing.
Note: prices move with supply, features, and region. The point isn’t a single number—it’s making sure the scope (glass, trims, calibration) matches the quote.
How to keep costs down without cutting corners
Good habits are cheaper than urgent fixes.
Repair early: Book as soon as you see a chip—heat and vibrations are crack accelerants.
Shield the damage: Clear tape over a fresh chip keeps dirt and moisture out before repair.
Avoid pressure points: Gentle door closes and slower speed over bumps reduce crack spread while you’re waiting.
Park smart: Out of direct summer sun where possible; rapid heat changes stress glass.
Choose evidence, not guesses: Before/after photos and calibration reports save repeat visits.
What to expect on the day (repair vs replacement)
Chip repair (30–45 minutes):
The technician cleans and dries the chip, injects resin under vacuum, cures with UV, and then polishes. It won’t vanish completely, but strength and clarity improve and the spreading risk drops.
Full replacement (2–4 hours depending on calibration):
Old screen is cut out, aperture cleaned, new glass bonded with urethane, trims refitted. If your car has cameras/sensors, expect a calibration step—static, dynamic, or both—followed by a test drive and report.
Pro tip: ask about safe drive-away time. Urethane needs a specified cure window; respect it so structural integrity is maintained.
Common mistakes that cost more later
Ignoring a chip through summer/winter: Heat cycles turn tiny stars into sweeping cracks.
DIY resin kits on complex damage: Fine for simple chips; risky for star breaks or cracks near the edge.
Skipping calibration: ADAS warnings off does not mean calibrated. Trust the report, not the dashboard light.
Chasing the absolute lowest number: If a quote removes calibration or trims to undercut, you’ll “save” now and pay later.
A quick case from the road
Last August, I handled a Corolla with a small chip right in the wiper arc. The owner had lived with it for months; a heat snap turned it into a 15-centimetre crack across the driver’s view in one afternoon. Repair was off the table. We sourced quality glass the same day, fitted it in the workshop, then ran a static and dynamic camera calibration. Total time: just under three hours. The owner left with a clear view and a calibration report for their records. The lesson—again—is simple: early repair is the cheapest pathway. Leave it, and the “number on the website” won’t match the reality under your wipers.


Write a comment ...